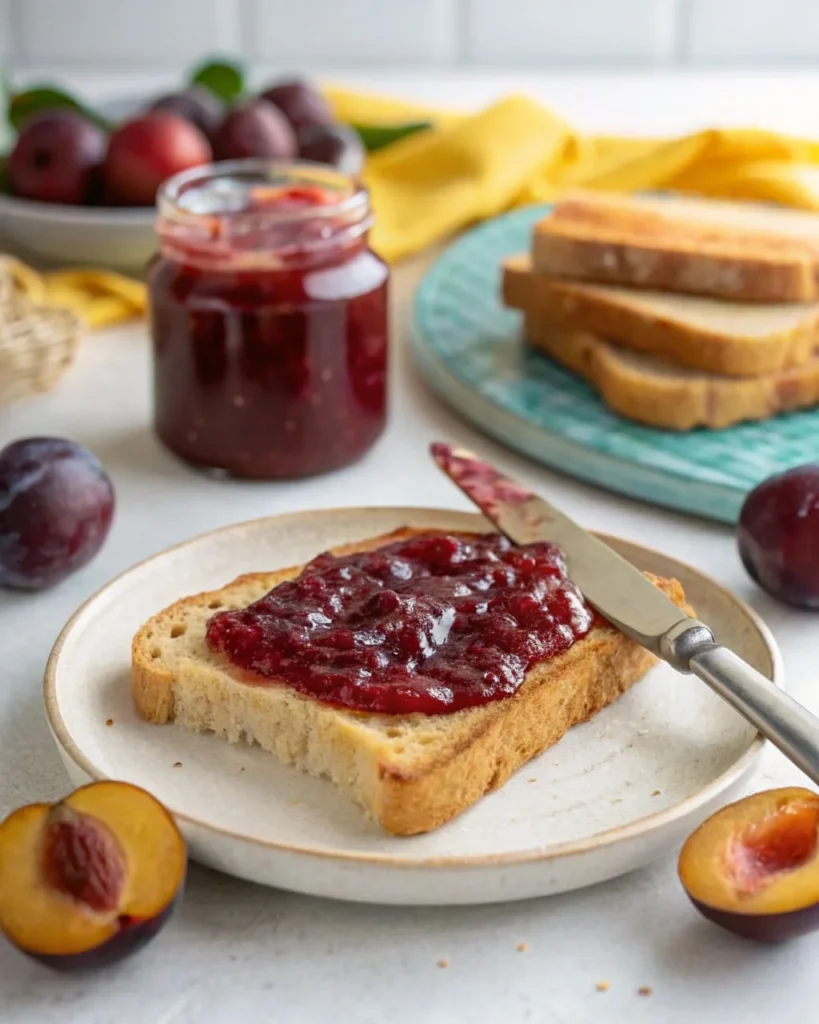
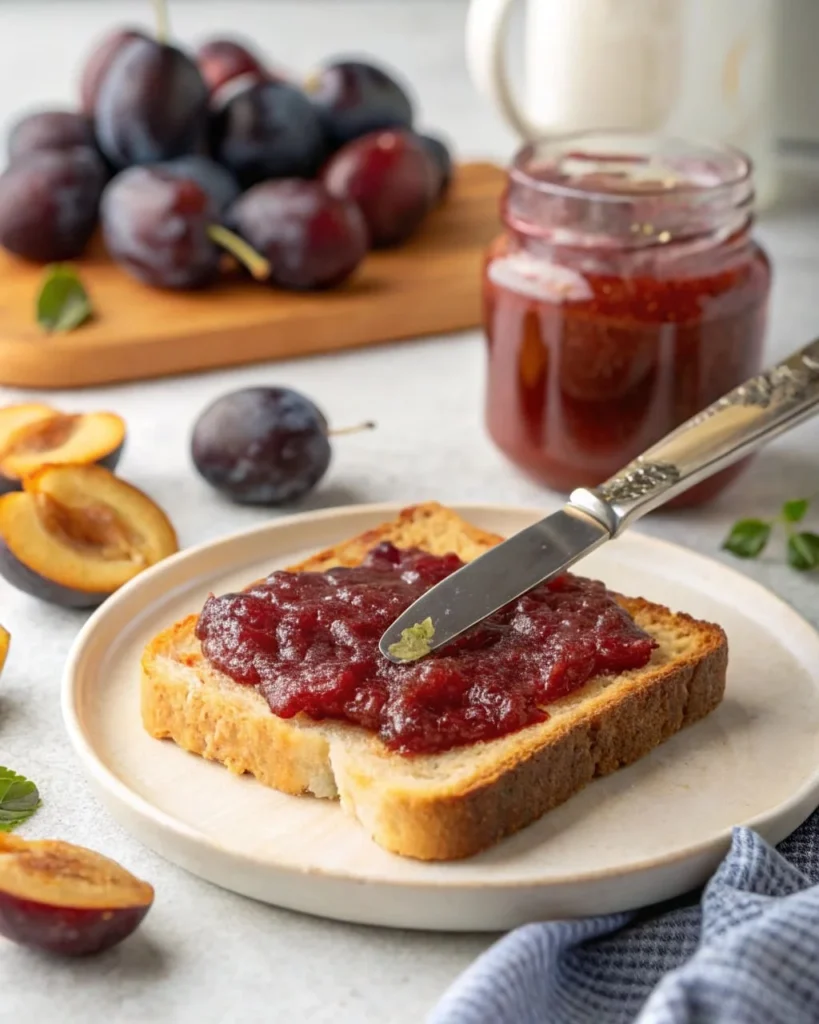
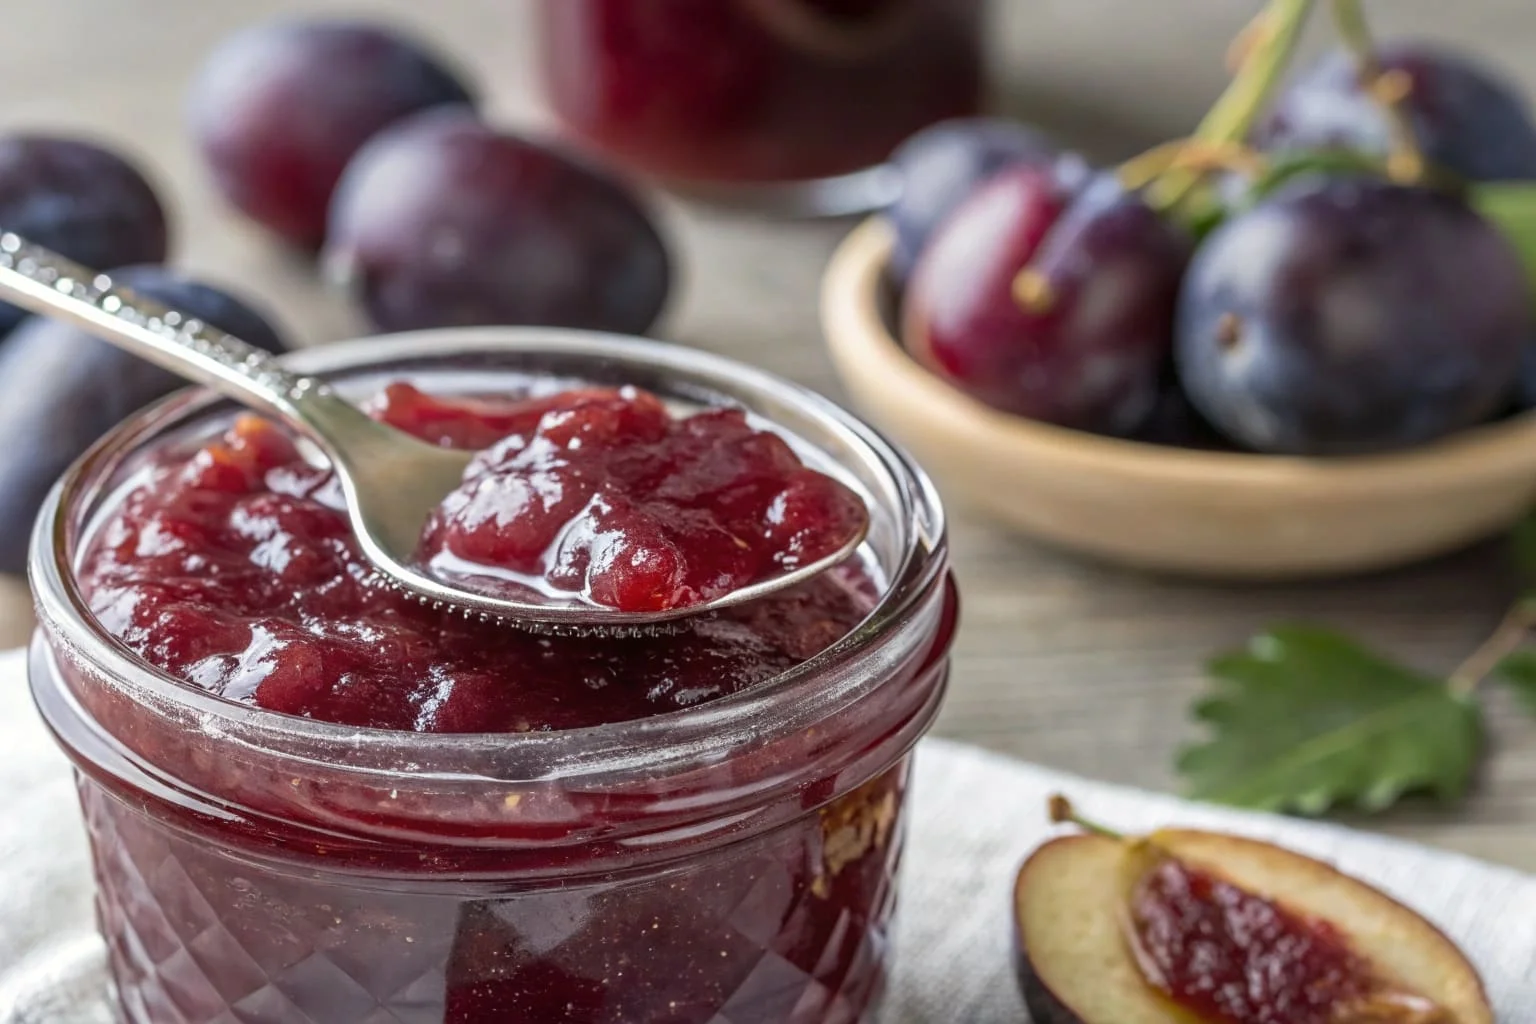
Making your own plum jelly at home is not only simple but also incredibly rewarding. With just a few ingredients, you can create a delicious, sweet, and slightly tart jelly that pairs perfectly with toast, biscuits, or even as a glaze for meats.
This article will take you through everything you need to know, from choosing the best plums to troubleshooting common jelly-making mistakes. Whether you’re a beginner or an experienced home cook, this guide will ensure you get a perfect batch of jelly every time!
A Chef’s Story: Why Plum Jelly?
“Growing up, my grandmother used to make the best plum jelly. The scent of simmering plums filled the house, and we couldn’t wait to spread it on warm biscuits. Now, as a chef, I love bringing that nostalgic flavor back to my kitchen. Plum jelly is simple, versatile, and absolutely worth making from scratch!” – Chef Olivia Carter
Part 1: Introduction to Plum Jelly
Plum jelly is one of the easiest fruit preserves to make. Unlike jam, which contains fruit chunks, jelly is smooth and clear, made by extracting juice from fresh plums.
What is Plum Jelly?
- Plum jelly is a sweet and slightly tart fruit preserve made by cooking plum juice with sugar and pectin.
- Unlike jams and marmalades, jelly has a smooth texture without fruit pieces.
- It can be stored for months and used in a variety of ways, from breakfast spreads to dessert fillings.
Why Make Your Own Plum Jelly?
There are many reasons to make homemade plum jelly:
- No artificial preservatives – You control the ingredients.
- Richer, fresher flavor – Store-bought versions don’t compare to the taste of homemade jelly.
- Cost-effective – Making it yourself can be cheaper than buying gourmet jellies.
- Great for gifts – A jar of homemade jelly makes a thoughtful present!
Overview of the Plum Jelly-Making Process
Making plum jelly involves just a few simple steps:
- Extracting Plum Juice – Cook fresh plums with water and strain the juice.
- Cooking the Jelly – Combine the juice with pectin and sugar, then bring to a boil.
- Testing for Doneness – Ensure the jelly reaches the right consistency.
- Canning and Storing – Pour into sterilized jars and seal properly for long-term storage.
“The key to a good jelly is getting the right balance of sweetness and tartness. Don’t rush the process—patience is essential!” – Chef Olivia Carter
Plum Jelly Ingredients & Nutrition Facts
Before we dive into the detailed recipe, here’s a quick look at what you’ll need:
| Ingredient | Quantity |
|---|---|
| Fresh plums | 5 lbs (about 10 cups) |
| Water | 1 ½ cups |
| Sugar | 6 ½ cups |
| Pectin | 1 package (1.75 oz) |
| Lemon juice (optional) | 1 tbsp |
| Butter (optional) | 1 tbsp |
Nutrition Facts (Per Tablespoon of Jelly)
| Nutrient | Amount |
|---|---|
| Calories | 50 kcal |
| Carbohydrates | 13g |
| Sugar | 12g |
| Fat | 0g |
| Protein | 0g |

Part 2: Ingredients Needed for Plum Jelly
To make a perfect batch of plum jelly, you need just a few simple ingredients. The right balance of fruit, sugar, and pectin ensures a smooth texture and delicious taste.
Essential Ingredients for Traditional Plum Jelly
Here’s what you’ll need:
| Ingredient | Quantity | Purpose |
|---|---|---|
| Fresh plums | 5 lbs (about 10 cups) | The main flavor base |
| Water | 1 ½ cups | Helps extract juice from plums |
| Sugar | 6 ½ cups | Sweetens and preserves the jelly |
| Pectin | 1 package (1.75 oz) | Helps the jelly set properly |
| Lemon juice (optional) | 1 tbsp | Adds acidity for better gelling |
| Butter (optional) | 1 tbsp | Reduces foaming while cooking |
“Using fresh, ripe plums is key to getting the best flavor. The natural sweetness and acidity will determine how much sugar you need.” – Chef Olivia Carter
Understanding the Role of Pectin, Sugar, and Acid
- Pectin – This is a natural thickening agent found in fruit. Some plums contain enough pectin on their own, but adding extra pectin ensures a firm jelly.
- Sugar – It does more than just sweeten; it helps with preservation and texture.
- Acid (Lemon Juice) – If your plums aren’t very tart, a little lemon juice helps the jelly set properly.
Variations: Natural Pectin vs. Store-Bought Pectin
- Natural pectin – Some plums, especially slightly under-ripe ones, have enough natural pectin for jelly to set without additional pectin.
- Store-bought pectin – Powdered or liquid pectin helps ensure consistent results and a firm set.
Now that we have all the ingredients ready, let’s move on to making the plum jelly recipe!
Part 3: How to Make Plum Jelly from Scratch
Step 1: Selecting the Best Plums for Jelly
For the best plum jelly, choose:
- Ripe, juicy plums – These give the best flavor.
- A mix of tart and sweet plums – This adds complexity.
- Slightly under-ripe plums – They contain more natural pectin, which helps the jelly set.
“Homemade jelly tastes better when you use high-quality fruit. If the plums aren’t ripe enough, let them sit for a few days.” – Chef Olivia Carter
Step 2: Extracting Plum Juice
- Wash and cut the plums into halves or quarters, removing pits.
- Place the plums in a large pot with 1 ½ cups of water.
- Simmer over medium heat for 20–30 minutes, stirring occasionally.
- Mash the plums gently to release their juice.
- Strain through a jelly bag or cheesecloth into a bowl. Let the juice drain naturally for the clearest jelly (do not press the pulp).
Step 3: Cooking the Plum Juice with Pectin
- Pour the strained plum juice into a large pot.
- Stir in the pectin and mix well to dissolve.
- Bring the mixture to a rolling boil over high heat, stirring constantly.
“A rolling boil means the mixture keeps boiling even when you stir it. This is an important step to activate the pectin.” – Chef Olivia Carter
Step 4: Adding Sugar and Achieving the Right Consistency
- Add the sugar all at once and stir quickly to dissolve.
- Return to a rolling boil and let it boil hard for 1-2 minutes.
- Remove from heat and skim off any foam (use butter if needed to reduce foaming).
Step 5: Testing for the Perfect Set
To check if your jelly is ready:
- Spoon test – Drop a small amount on a cold plate. If it wrinkles when pushed, it’s ready.
- Temperature test – Jelly should reach 220°F (104°C) when measured with a candy thermometer.
Step 6: Pouring and Sealing the Jelly in Jars
- Sterilize your jars and lids in boiling water.
- Ladle the hot jelly into jars, leaving ¼ inch of space at the top.
- Wipe jar rims clean and seal with sterilized lids.
- Process in a boiling water bath for 10 minutes to ensure proper sealing.
“Sealing the jars properly helps the jelly last for months. If a jar doesn’t seal, just refrigerate and use it first!” – Chef Olivia Carter

Part 4: Plum Jelly Recipe Variations and Flavor Twists
A classic plum jelly recipe is delicious on its own, but adding unique flavors can take it to the next level. Here are some creative ways to give your jelly a special twist.
Low-Sugar or No-Sugar Plum Jelly
If you’re watching your sugar intake, you can make a healthier version of plum jelly by reducing or eliminating sugar.
- Low-sugar method – Use a low-sugar pectin and reduce sugar to 2–3 cups instead of the usual 6 ½ cups.
- No-sugar method – Substitute sugar with honey, stevia, or other natural sweeteners. Keep in mind that the texture may be softer.
“Reducing sugar changes the set of the jelly slightly, but the plum flavor remains rich and delicious!” – Chef Olivia Carter
Adding Spices for Extra Flavor
Adding spices gives plum jelly a warm and aromatic touch. Here are a few great options:
- Cinnamon – Adds a warm, slightly sweet depth to the jelly.
- Cloves – A small pinch enhances the tartness of plums.
- Ginger – Fresh or ground ginger adds a mild heat and complexity.
- Vanilla – A splash of vanilla extract softens the tartness and balances the flavors.
Mixing Plum Jelly with Other Fruits
Pairing plums with other fruits can enhance both color and flavor. Try these combinations:
- Plum & Apple Jelly – Apples add extra pectin and a mild sweetness.
- Plum & Raspberry Jelly – Raspberries add a bright, tangy contrast.
- Plum & Peach Jelly – A mix of plums and peaches creates a smooth, fruity spread.
“Mixing fruits is a fun way to experiment with flavors. Just make sure to balance the acidity so your jelly sets properly!” – Chef Olivia Carter
Part 5: Troubleshooting Common Plum Jelly Problems
Even the best home cooks run into issues when making plum jelly. Here’s how to fix common problems.
Why Didn’t My Plum Jelly Set?
If your jelly is too runny, it might not have enough pectin, sugar, or acid. Try these solutions:
- Reboil with extra pectin – Bring the jelly back to a boil and add 1 tablespoon of powdered pectin per cup of jelly.
- Add more lemon juice – If your plums weren’t tart enough, the jelly might not gel properly. Stir in 1 tablespoon of lemon juice and reboil.
- Check cooking time – The jelly must reach 220°F (104°C) to set correctly. Use a thermometer to confirm.
“Runny jelly is frustrating, but don’t throw it out! You can always reboil it or use it as a syrup.” – Chef Olivia Carter
How to Fix Runny or Too Thick Plum Jelly
- Too thin? Reheat and add extra pectin or cook longer to evaporate excess moisture.
- Too thick? Stir in a small amount of hot water or fruit juice to loosen the texture.
Avoiding Crystallization in Your Jelly
Sugar crystals can sometimes form in homemade plum jelly, making it gritty. To prevent this:
- Stir sugar until fully dissolved before boiling.
- Avoid overcooking – Boiling too long can lead to crystallization.
- Store properly – Keep jelly in a cool, dry place to prevent sugar from hardening.
“Jelly making is a science! The right balance of ingredients and cooking time ensures perfect texture every time.” – Chef Olivia Carter
If you’re craving something fruity and delicious, try our Peach Crumble Recipe for a perfect balance of sweetness and crunch!

Part 6: Storing and Preserving Your Plum Jelly
Proper storage is essential to keep your plum jelly recipe fresh and delicious for months. Whether you prefer refrigeration, freezing, or canning, here’s how to do it the right way.
How to Properly Store Plum Jelly for Long-Term Use
The best storage method depends on how long you plan to keep your jelly:
- Short-term (up to 3 weeks): Store in the refrigerator in a sealed jar.
- Long-term (up to a year or more): Use proper canning techniques to preserve your jelly at room temperature.
- Freezing (up to 1 year): If you prefer not to can, freeze the jelly in airtight containers, leaving space for expansion.
“Homemade jelly lasts much longer when stored properly. A sealed jar can sit in your pantry for over a year!” – Chef Olivia Carter
Refrigerating vs. Canning: What’s Best?
| Storage Method | Shelf Life | Best For |
|---|---|---|
| Refrigerator | 2–3 weeks | Small batches, quick use |
| Freezer | Up to 1 year | Sugar-free or soft-set jellies |
| Canning | 12–18 months | Large batches, long-term storage |
Canning Tips:
- Use sterilized glass jars to prevent bacteria growth.
- Process jars in a boiling water bath for at least 10 minutes.
- Check the seals—if the lid doesn’t pop when pressed, refrigerate the jar instead.
Can You Freeze Plum Jelly?
Yes! Freezing is a great option, especially if you’re making a low-sugar or pectin-free plum jelly recipe. Just remember:
- Use freezer-safe jars or plastic containers.
- Leave about ½ inch of space at the top to allow for expansion.
- Thaw in the refrigerator overnight before using.
Part 7: Creative Ways to Use Plum Jelly
Plum jelly is more than just a spread for toast. Here are some fun and delicious ways to use it in your kitchen!
Delicious Breakfast Ideas with Plum Jelly
- Classic Toast & Butter – A timeless pairing that never fails.
- Plum Jelly Pancakes – Drizzle warm jelly over pancakes or waffles.
- Yogurt & Granola Topping – Swirl it into yogurt for a fruity kick.
- Plum Jelly Oatmeal – Stir a spoonful into warm oatmeal for extra flavor.
“Plum jelly adds a bright, fruity sweetness to any breakfast dish. It’s a must-have in my kitchen!” – Chef Olivia Carter
Using Plum Jelly in Desserts and Baking
- Thumbprint Cookies – A dollop of plum jelly in the center makes them irresistible.
- Plum Jelly Cake Filling – Spread between cake layers for a fruity surprise.
- Cheesecake Drizzle – Warm the jelly and pour it over cheesecake.
- Homemade Pop Tarts – Fill pastry dough with plum jelly before baking.
Savory Uses: Glazes, Marinades, and Sauces
Believe it or not, plum jelly works wonderfully in savory dishes!
- Plum-Glazed Chicken – Mix jelly with soy sauce and garlic for a delicious glaze.
- Pork Tenderloin Marinade – Combine with mustard and balsamic vinegar for a tangy sauce.
- Plum BBQ Sauce – Stir into barbecue sauce for a fruity twist.
- Cheese Board Pairing – Serve with brie, goat cheese, or sharp cheddar.
“Plum jelly balances sweetness and acidity, making it perfect for both sweet and savory dishes.” – Chef Olivia Carter

Part 8: Frequently Asked Questions (FAQs)
Here are answers to some common questions about making and using plum jelly.
What Do You Do with Plum Jelly?
There are so many ways to enjoy your homemade plum jelly! You can:
- Spread it on toast, biscuits, or pancakes.
- Use it as a filling for cakes, cookies, and pastries.
- Stir it into yogurt or oatmeal for extra flavor.
- Mix it into a glaze for meats like chicken or pork.
- Add it to cheese boards for a sweet contrast.
Can You Freeze Plums and Make Jelly Later?
Yes! If you have fresh plums but aren’t ready to make jelly, you can freeze them. Just follow these steps:
- Wash and pit the plums, then cut them into halves or quarters.
- Lay them on a baking sheet and freeze for a few hours.
- Transfer to freezer bags and store for up to 6 months.
- When you’re ready, thaw and use them to make a delicious plum jelly recipe!
What Are the Four Required Ingredients in a Jelly?
Every jelly, including plum jelly, needs four key ingredients:
- Fruit juice – This provides the flavor.
- Pectin – Helps the jelly set and thicken.
- Sugar – Sweetens and preserves the jelly.
- Acid (like lemon juice) – Balances the flavors and helps the jelly set.
Can You Make Plum Jelly Without Pectin?
Yes! Plums naturally contain pectin, so you can make jelly without adding store-bought pectin. However, you’ll need to:
- Use slightly under-ripe plums, as they have more pectin.
- Boil the juice longer to help it thicken.
- Add lemon juice to boost the natural pectin.
“Making jelly without pectin takes a little longer, but the result is just as delicious!” – Chef Olivia Carter
Part 9: Final Thoughts on This Plum Jelly Recipe
Making homemade plum jelly is simple, fun, and rewarding. With just a few ingredients, you can create a flavorful spread that lasts for months. Plus, it’s a great way to use up fresh plums when they’re in season!
Why You Should Try This Recipe
- It’s easy to make with simple steps.
- You can customize it with different flavors.
- It’s free of preservatives, unlike store-bought jelly.
- It makes a great homemade gift!
A Quick Recap
- Extract the juice from fresh plums.
- Cook with pectin and sugar until it thickens.
- Test for doneness and adjust if needed.
- Store in sterilized jars for long-term use.
Now that you’ve learned everything about making plum jelly, it’s time to try it yourself! Gather your plums, grab a pot, and start cooking. You’ll love the rich, fruity flavor of homemade plum jelly.
“Once you make homemade jelly, you’ll never want store-bought again. Enjoy the process and share it with family and friends!” – Chef Olivia Carter

Plum Jelly Recipe
- Total Time: 1 hour 10 minutes
- Yield: 6–7 half-pint jars 1x
Description
This plum jelly recipe is the perfect way to enjoy the rich, sweet-tart flavor of fresh plums. With just a few simple ingredients, you can create a smooth, flavorful jelly that’s great for spreading on toast, using as a cake filling, or even as a glaze for meats. Whether you’re an experienced canner or a beginner, this step-by-step guide will help you achieve the perfect homemade jelly!
Ingredients
Ingredients
Main Ingredients
- 5 lbs fresh plums, halved and pitted
- 1 ½ cups water
- 1 package (1.75 oz) powdered pectin
- 6 ½ cups granulated sugar
- 1 tbsp lemon juice (optional)
- 1 tbsp butter (optional, helps reduce foam)
Instructions
Instructions
-
Prepare the Plums
- Wash the plums thoroughly. Cut them in half, remove the pits, and place them in a large pot.
-
Extract the Juice
- Add 1 ½ cups of water to the pot and bring it to a boil over medium heat. Simmer for 20–30 minutes, mashing the plums occasionally to release their juice.
-
Strain the Juice
- Pour the cooked mixture through a jelly bag or cheesecloth, letting the juice drain into a bowl. Do not press the pulp—this keeps the jelly clear.
-
Prepare the Jelly Mixture
- Pour the strained plum juice back into a clean pot. Stir in pectin and bring the mixture to a rolling boil, stirring constantly.
-
Add the Sugar
- Quickly add the sugar all at once and stir until dissolved. Return to a rolling boil and let it boil for 1–2 minutes. Remove from heat.
-
Check for Doneness
- Use the plate test: Drop a small amount on a chilled plate. If it wrinkles when pushed, it’s ready.
-
Skim and Jar the Jelly
- Remove any foam from the surface. Ladle the hot jelly into sterilized jars, leaving ¼ inch of space. Wipe the rims clean.
-
Seal and Process
- Secure the lids and process the jars in a boiling water bath for 10 minutes to ensure proper sealing.
-
Cool and Store
- Let jars cool at room temperature. Store in a cool, dark place for up to a year.
Notes
- If your jelly is too thin, you can reboil it with extra pectin or cook it longer to thicken.
- For a low-sugar version, use a low-sugar pectin and reduce sugar to 2–3 cups.
- Adding spices like cinnamon or cloves can give the jelly a warm, rich flavor.
- Always use slightly under-ripe plums if making jelly without pectin, as they have more natural pectin.
- Refrigerate opened jars and consume within 3 weeks for the best taste.
- Prep Time: 30
- Cook Time: 40
- Category: Breakfast
- Method: Canning
- Cuisine: American
Keywords: plum jelly, homemade jelly, easy jelly recipe, fruit preserves, plum recipes, canning recipes, breakfast spreads, sugar-free jelly


1 thought on “Plum Jelly Recipe”