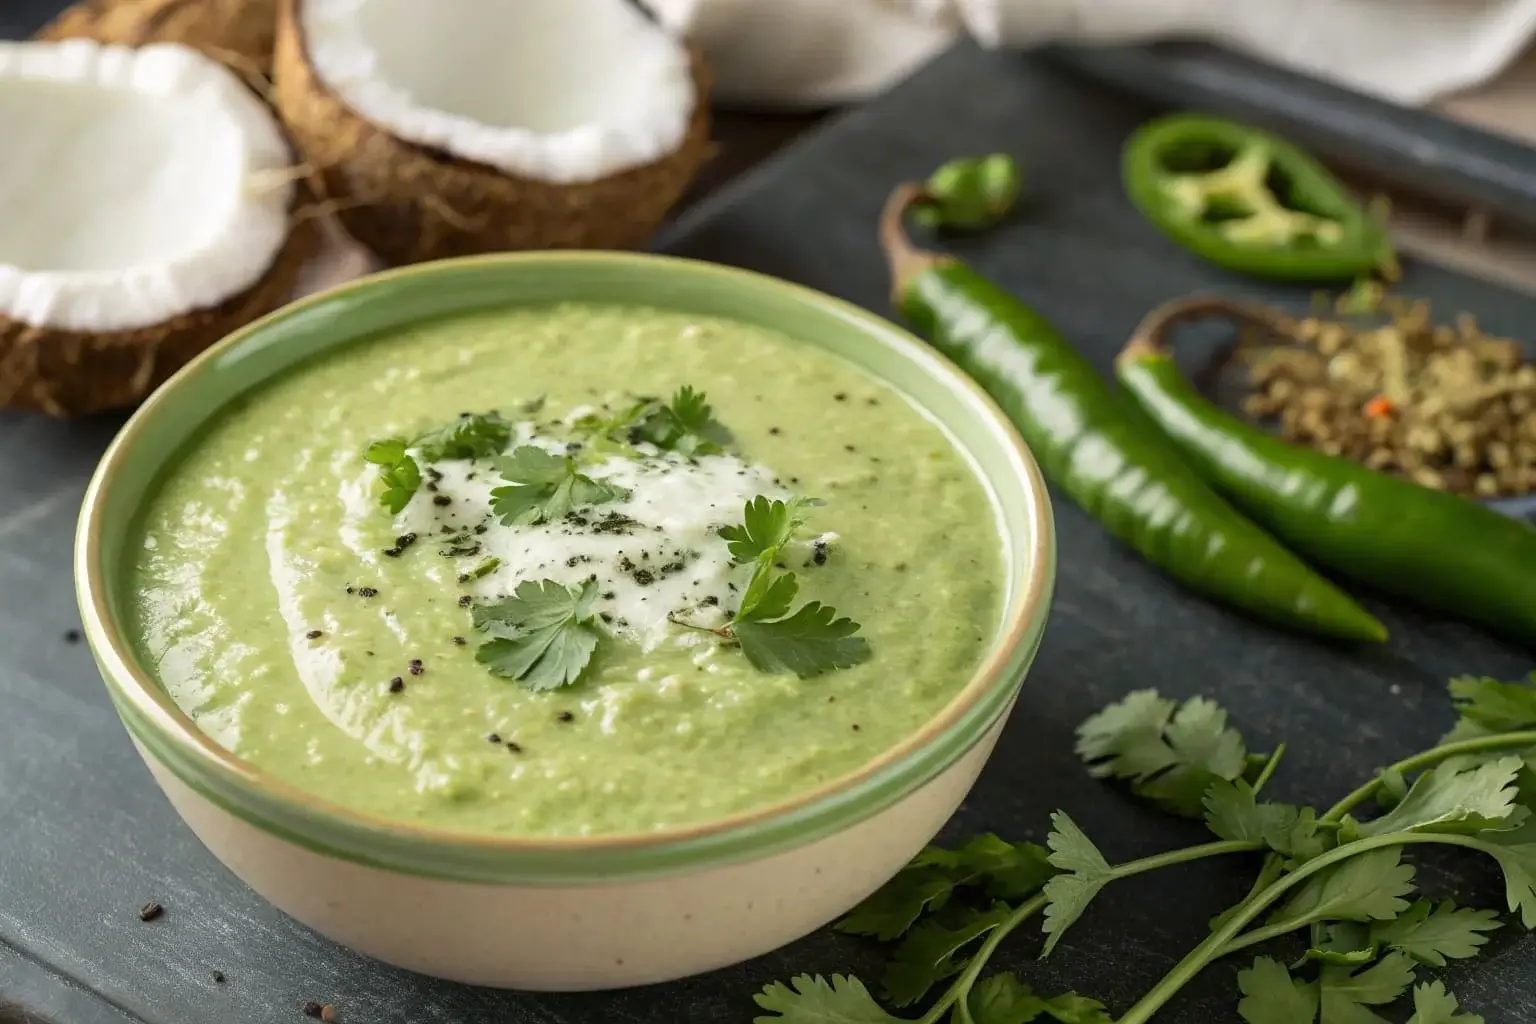
Coconut chutney recipe is more than just a side dish. It’s a creamy, spicy, and nutty dip that lights up your taste buds and makes every bite of dosa or idli taste amazing. In this article, you’ll discover how to make this delicious South Indian chutney, step by step. We’ll explore variations, tips, serving ideas, and even how to store it properly. Whether you’re a beginner or a kitchen pro, you’ll find everything you need right here.
“The first time I made coconut chutney, I didn’t expect my kids to love it so much,” says Chef Rekha Nair, a South Indian home cook based in Chennai.
“Now, they call it the ‘magic white sauce’ and insist I make it every Sunday with idlis. It’s the one recipe that never fails to bring everyone to the table.”
Understanding Coconut Chutney and Its Origins
Coconut chutney is a traditional South Indian condiment. It’s creamy, mildly spicy, and often served with breakfast items like idli, dosa, vada, or upma. This chutney is made by blending fresh or frozen grated coconut with roasted gram (also called bhuna chana), green chilies, ginger, salt, and water.
This dish comes from coastal areas of South India, where coconuts grow in plenty. It’s a common favorite in Tamil Nadu, Kerala, Karnataka, and Andhra Pradesh. Over time, coconut chutney has become popular all across India and even in Indian restaurants abroad.
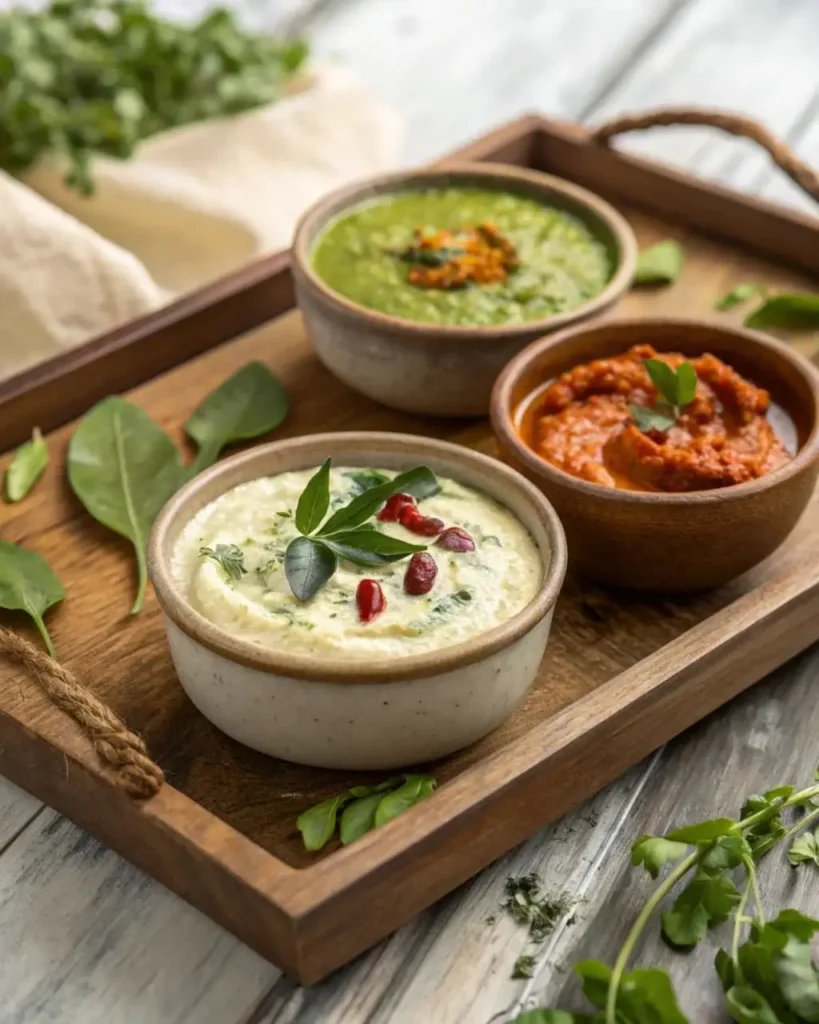
You’ll find coconut chutney in many different forms, white, green, red, thick, runny, or even dry. Each one has a special taste based on the ingredients used.
“There’s no single ‘right way’ to make coconut chutney,” Chef Rekha shares.
“It depends on your mood, your spice level, and what you’re eating it with. That’s the beauty of it.”
Why Coconut Chutney is Popular
Coconut chutney stands out because it’s:
- Quick to make
- Needs very few ingredients
- Pairs with many Indian dishes
- Naturally vegan and gluten-free
- Can be adjusted to taste (spicy, tangy, sweet, or herby)
Another great thing? You can prepare it in less than 10 minutes if your ingredients are ready.
And guess what? It’s not just for dosa and idli. Many people enjoy it with snacks like pakoras, sandwiches, and even rice.
Ingredients at a Glance (Basic Version)
| Ingredient | Quantity | Notes |
|---|---|---|
| Grated coconut | ¾ cup | Fresh or frozen (room temperature) |
| Roasted gram dal | 2 tbsp | Also called fried gram or bhuna chana |
| Green chilies | 1 to 2 | Adjust for spice |
| Ginger | ½ inch piece | Optional but adds flavor |
| Salt | ¼ tsp or to taste | Adjust as needed |
| Cumin seeds | ½ tsp | For mild earthy flavor |
| Water | ¼ cup or as needed | To blend to desired consistency |
| Lemon juice | 1 tsp (optional) | Adds tangy taste |
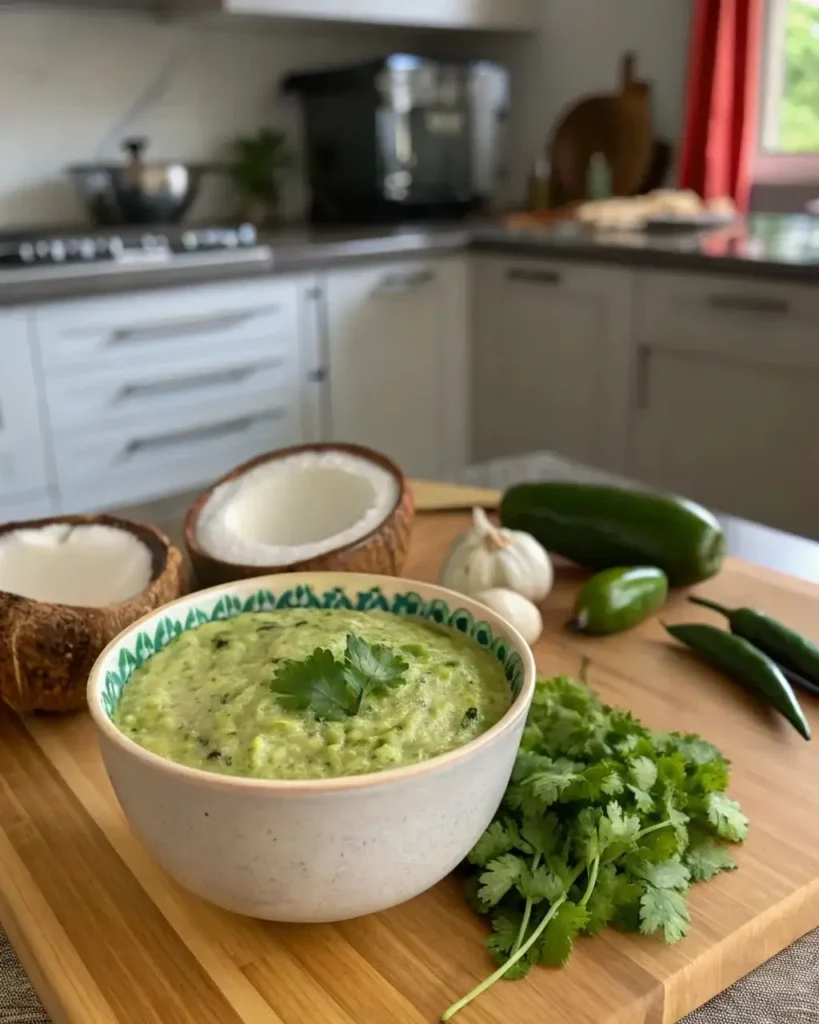
Basic Coconut Chutney Recipe (Step-by-Step Guide)
Ingredients You Need
To make a classic coconut chutney recipe, you need just a few kitchen staples. You don’t have to be a pro to whip this up! Here’s a table that breaks down the essentials for one batch (about 2–3 servings):
| Ingredient | Quantity | Notes |
|---|---|---|
| Grated coconut | ¾ cup | Fresh or frozen (room temperature) |
| Roasted gram dal | 2 tablespoons | Fried gram or bhuna chana |
| Green chilies | 1–2 | Adjust to your spice level |
| Ginger (optional) | ½ inch piece | Gives a warm, sharp flavor |
| Salt | ¼ teaspoon | Or to taste |
| Cumin seeds | ½ teaspoon | Adds a light earthy flavor |
| Water | ¼ cup or as needed | For blending |
| Lemon juice (optional) | 1 teaspoon | Or use tamarind for tang |
Step-by-Step Instructions to Make It
You’re just a few simple steps away from creamy coconut chutney. Here’s how to make it:
- Prep the Coconut
If you’re using frozen coconut, make sure it’s thawed or slightly warmed. Cold coconut may cause the fats to separate when blended. - Blend It All Together
In a blender, add:- Grated coconut
- Roasted gram dal
- Green chilies
- Ginger
- Salt
- Cumin seeds
- Water
- Taste and Adjust
Taste your chutney. Add more salt or green chili if needed. If you like a tangy kick, squeeze in some lemon juice. - Tempering (Optional but Recommended)
This step boosts the flavor big time.- Heat 1 teaspoon of oil in a small pan
- Add ¼ tsp mustard seeds
- Add 1 dry red chili and a few curry leaves
- Toss in a pinch of hing (asafoetida)
“Tempering transforms a basic chutney into something special. Don’t skip it if you have the time,” says Chef Rekha.
Popular Variations of Coconut Chutney
Why stick to one style when you can enjoy many? Coconut chutney can be tweaked in so many ways. Here are a few popular and tasty variations you can try next.
Green Coconut Chutney with Coriander or Mint
Want a chutney that’s herby and refreshing? Add fresh coriander or mint leaves while blending the basic chutney.
- Use ¼ cup coriander or mint leaves
- Keep the rest of the ingredients the same
- You can even mix both herbs for extra punch
This variation is especially great with vada or pakoras.
Pro Tip: Use only the soft stems of coriander. They blend better and taste great.
Red Coconut Chutney with Dried Red Chilies
This version gets its color from dried red chilies, not tomatoes.
- Swap green chilies with 3–4 dry red chilies
- Lightly roast them in oil for a deeper flavor
- Blend with the usual ingredients
You’ll get a smoky, nutty chutney that pairs well with uttapam and masala dosa.
“I love using Kashmiri chilies for this,” says Chef Rekha, “They give color without too much heat.”
Dry Coconut Chutney Using Copra
Sometimes, fresh coconut isn’t available. No worries! You can use dry coconut (copra) instead.
- Use ½ cup chopped dry coconut
- Toast red chilies, cumin, and chana dal for flavor
- Blend with garlic and water
This version is sweet, rich, and has a longer shelf life.
Special Additions: Carrot, Capsicum, or Mango
Let’s get creative! Add small portions of these for a twist:
- Carrot: Adds sweetness and color
- Capsicum (bell pepper): Gives a mild, smoky flavor
- Raw mango: Adds a tangy taste without lemon or tamarind
To use these:
- Sauté the veggie in a little oil
- Cool and blend with the rest of the chutney ingredients
These versions are fun, colorful, and a great way to sneak in veggies for picky eaters.
Tips for Perfect Coconut Chutney Every Time
How to Choose the Right Coconut
The coconut is the star of this recipe. Picking the right one can really change the taste and feel of your coconut chutney recipe.
- Fresh grated coconut is always the best. It gives the chutney a smooth and creamy texture with a sweet nutty flavor.
- Frozen grated coconut works too. Just let it thaw first or warm it up a little in a pan. Cold coconut can sometimes make the chutney oily or separate after blending.
- Dried coconut or copra can be used when fresh is not available. But remember, it will give a slightly different, often sweeter, taste.
- Desiccated coconut is not ideal. It can make the chutney dry and gritty unless soaked and used carefully.
“When I want a restaurant-style smooth chutney, I always use freshly grated coconut with just a little roasted gram,” says Chef Rekha. “It blends like a dream.”
What to Avoid for Smooth Texture
Even though making coconut chutney seems easy, a few small mistakes can ruin the texture. Here’s how to avoid them:
- Don’t use very cold coconut. It might cause the fat to separate and make the chutney look grainy.
- Too much roasted gram can make the chutney pasty or dry.
- Not blending long enough can leave chunks. Use a strong blender and blend until smooth.
- Don’t skip water. Add a little at a time to help the blades move and reach the right consistency.
Also, avoid over-blending once the chutney is smooth. That can make it watery.
Tip: Always blend dry ingredients first for 5–10 seconds, then add water and continue. This trick helps get an even, creamy texture.
How to Store Coconut Chutney
Can You Refrigerate or Freeze It?
Yes, you can! But only for a short time. Coconut chutney tastes best when it’s fresh, but here’s how you can store it safely:
- In the fridge: Keep it in a steel or glass container with a tight lid. It stays good for up to 2 days.
- In the freezer: Not ideal. It can turn sour or separate once defrosted, especially if you added onion or tamarind.
- Avoid plastic containers for longer storage. They may hold smells or change the taste over time.
If you know you’ll store it, avoid adding tempering, tamarind, or onion. Blend just the coconut, green chili, salt, and a little roasted gram. Add the rest later after thawing.
How to Reuse or Refresh Stored Chutney
Don’t worry if your chutney has been sitting in the fridge. You can make it feel fresh again with a few simple steps.
- Re-temper it with hot oil, mustard seeds, red chili, and curry leaves.
- Add a little lemon juice if it smells flat or has lost flavor.
- Stir well to mix any water or oil that may have separated.
- Taste and adjust salt or chili to bring it back to life.
If it still doesn’t taste fresh, try mixing it into cooked rice or using it as a sandwich spread. Nothing goes to waste!
“I often turn leftover chutney into a dip for crackers or even a dressing for salad,” says Chef Rekha. “It works wonders with just a squeeze of lemon.”
craving a creamy, smoky dip? Try our Chipotle Queso Recipe.
How to Serve Coconut Chutney
Breakfast Ideas: Idli, Dosa, Upma
One of the best things about the coconut chutney recipe is that it goes well with so many Indian breakfast dishes. Here are some tasty combos you’ll want to try right away:
- Idli and chutney: Soft, fluffy idlis dipped in coconut chutney is a South Indian favorite. The chutney adds a rich, creamy flavor to the plain steamed rice cakes.
- Dosa and chutney: Whether it’s plain dosa or masala dosa, this chutney brings out the crunch and spice. You can even serve it with ghee roast or rava dosa.
- Upma and chutney: The slightly bland taste of upma pairs nicely with the spicy tang of coconut chutney. It’s a fast and filling combo.
Many people even enjoy adding a spoon of chutney on top of the idli before dipping it in sambar. Simple things like this make breakfast exciting.
“Even plain bread becomes a treat with this chutney on the side,” says Chef Rekha. “Sometimes I use it as a sandwich spread.”
Snack Pairings: Pakoras, Sandwiches, and Rolls
But wait, this chutney isn’t just for breakfast! It works great as a dip for evening snacks too.
- Pakoras: Fried snacks like onion pakoras or potato bhajis taste amazing when dipped in thick coconut chutney.
- Sandwiches and kathi rolls: Spread a little coconut chutney inside sandwiches or rolls for a bold Indian twist.
- Bonda or medu vada: These crispy snacks taste even better when served with a bowl of chutney on the side.
You can even use leftover chutney as a dip for tortilla chips or veggie sticks. Just add a little yogurt and mix well. Voila! A new creamy dip is ready in seconds.
The coconut chutney recipe is truly one of the most versatile side dishes in Indian food. Whether you’re cooking breakfast or preparing snacks, it adds flavor, texture, and freshness to every plate.
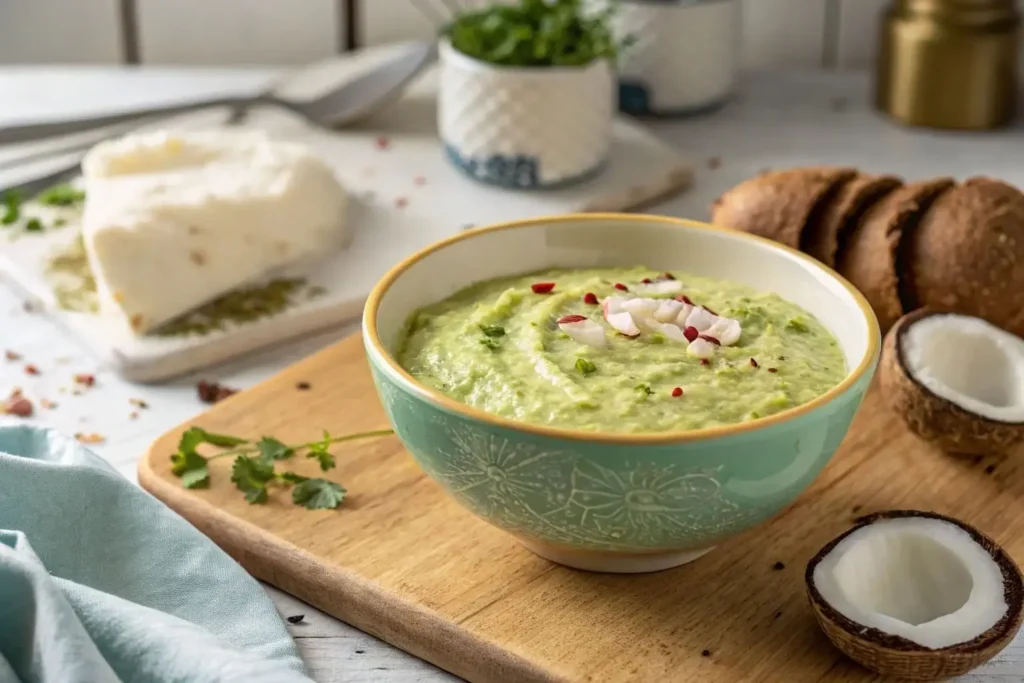
Coconut Chutney Recipe FAQs
Now let’s answer a few common questions people have about this recipe. These are the ones many search online before trying it out at home.
What are the ingredients in coconut chutney?
Coconut chutney usually has:
- Grated coconut (fresh or frozen)
- Roasted gram dal or peanuts
- Green chilies
- Ginger or garlic
- Salt and cumin
- Water for blending
- Optional ingredients like lemon juice, coriander, or mint
Some people also add tamarind or onion for extra flavor. The tempering on top is made with oil, mustard seeds, curry leaves, and red chili.
Can I make coconut chutney with desiccated coconut?
Yes, you can. But it’s not the best choice.
Desiccated coconut lacks the fresh flavor and moisture of grated coconut. If you do use it, soak it in warm water for 10–15 minutes first. That way, it softens and blends better.
“If you must use desiccated coconut, mix in some yogurt or milk while blending to bring back the creaminess,” recommends Chef Rekha.
Still, fresh or frozen coconut is the top pick for a tasty chutney.
Is coconut chutney good for the gut?
Yes, it is!
Coconut is rich in healthy fats and fiber. These help with digestion and keep your tummy happy. Plus, herbs like mint, ginger, or cumin (often used in the chutney) are known to calm the stomach.
But just like anything else, enjoy it in moderation. Too much coconut may feel heavy for some people.
How long can coconut chutney last in the fridge?
When stored properly in an airtight container, coconut chutney stays fresh for up to 2 days in the refrigerator.
Make sure:
- You refrigerate it right after making
- You don’t add raw onion or tamarind if planning to store it
- You stir it before serving again
- You re-temper it if needed for flavor
“I always keep some chutney ready in the fridge. A quick tempering brings it back to life in seconds,” says Chef Rekha.
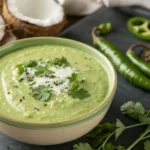
Coconut Chutney Recipe
- Total Time: 7 minutes
- Yield: 3 servings 1x
Description
This creamy, nutty, and mildly spicy coconut chutney is a classic South Indian side dish that pairs beautifully with idli, dosa, vada, and more. Made in under 10 minutes using fresh coconut and simple spices, it’s vegan, gluten-free, and endlessly versatile with easy variations like mint, red chili, or mango. Whether you’re a beginner or a kitchen pro, this chutney brings irresistible flavor to any Indian meal.
Ingredients
Ingredients
For the Chutney
- ¾ cup grated coconut (fresh or thawed frozen)
- 2 tablespoons roasted gram dal (bhuna chana)
- 1–2 green chilies (adjust to taste)
- ½ inch ginger (optional)
- ½ teaspoon cumin seeds
- ¼ teaspoon salt (or to taste)
- ¼ cup water (add more as needed)
Optional Add-Ins
- 1 teaspoon lemon juice or a small piece of tamarind
- A few coriander or mint leaves (for herby variation)
For Tempering (Optional)
- 1 teaspoon oil
- ¼ teaspoon mustard seeds
- 1 dry red chili
- 1 sprig curry leaves
- A pinch of asafoetida (hing)
Instructions
Instructions
-
Prep the Coconut
If using frozen coconut, thaw to room temperature or lightly warm in a pan. This helps avoid oil separation while blending. -
Blend the Chutney
Add coconut, roasted gram, green chilies, ginger, cumin, salt, and water to a blender. Blend until smooth, scraping sides if needed. Adjust water to reach the right consistency. -
Adjust Seasoning
Taste your chutney. Add more salt or chili if needed. Add lemon juice or tamarind if you like it tangy. -
Make the Tempering (Optional)
Heat oil in a small pan. Add mustard seeds, red chili, curry leaves, and hing. Let them sizzle, then pour the tempering over the chutney. -
Serve Fresh
Serve immediately with idli, dosa, or vada. For storing, refrigerate and re-temper before serving again.
Notes
- Use fresh coconut when possible. It gives the best texture and flavor.
- If using frozen coconut, avoid blending while still cold to prevent curdling or fat separation.
- For a spicier version, increase the number of green chilies or add a few red chilies while roasting.
- Do not store with onion or tamarind if planning to refrigerate. Add those only if eating fresh.
- Add mint or coriander for herby twists.
- If the chutney separates, just stir well or re-blend briefly.
- Prep Time: 5
- Cook Time: 2
- Category: Lunch
- Method: Blending + Tempering
- Cuisine: Indian
Keywords: coconut chutney, coconut chutney recipe, Indian chutney, South Indian recipes, chutney for dosa, idli chutney, coconut dip, vegan Indian chutney, gluten-free chutney

