Looking for a dessert that’s creamy, easy to carry, and super simple to make at home? You’re in the right place. In this article, we’re diving deep into the world of cheesecake bars, a delicious twist on the classic cheesecake that’s perfect for any occasion.
We’ll walk you through:
- What cheesecake bars actually are
- All the ingredients you’ll need
- Step-by-step instructions that even kids can follow
- Flavor variations you’ll love
- How to serve, store, and troubleshoot any problems
- And finally, answers to the most commonly asked questions
Before we jump into the recipe, here’s what Chef Lila, a home baker who runs a cozy dessert blog, had to say:
“I’ve baked so many desserts in my life, but cheesecake bars are one of my go-tos. They’re creamy, they slice perfectly, and they always bring smiles at family gatherings. This cheesecake bars recipe is easy enough for beginners but tasty enough to impress everyone.”
What Makes Cheesecake Bars Different from Regular Cheesecake?
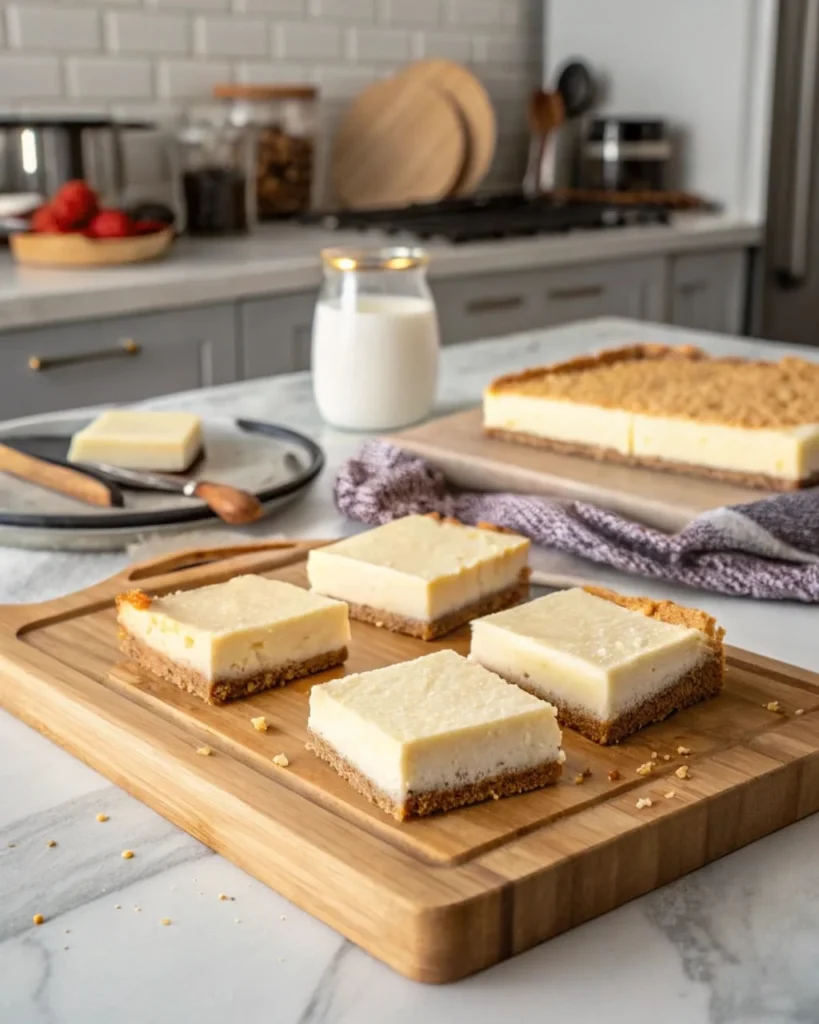
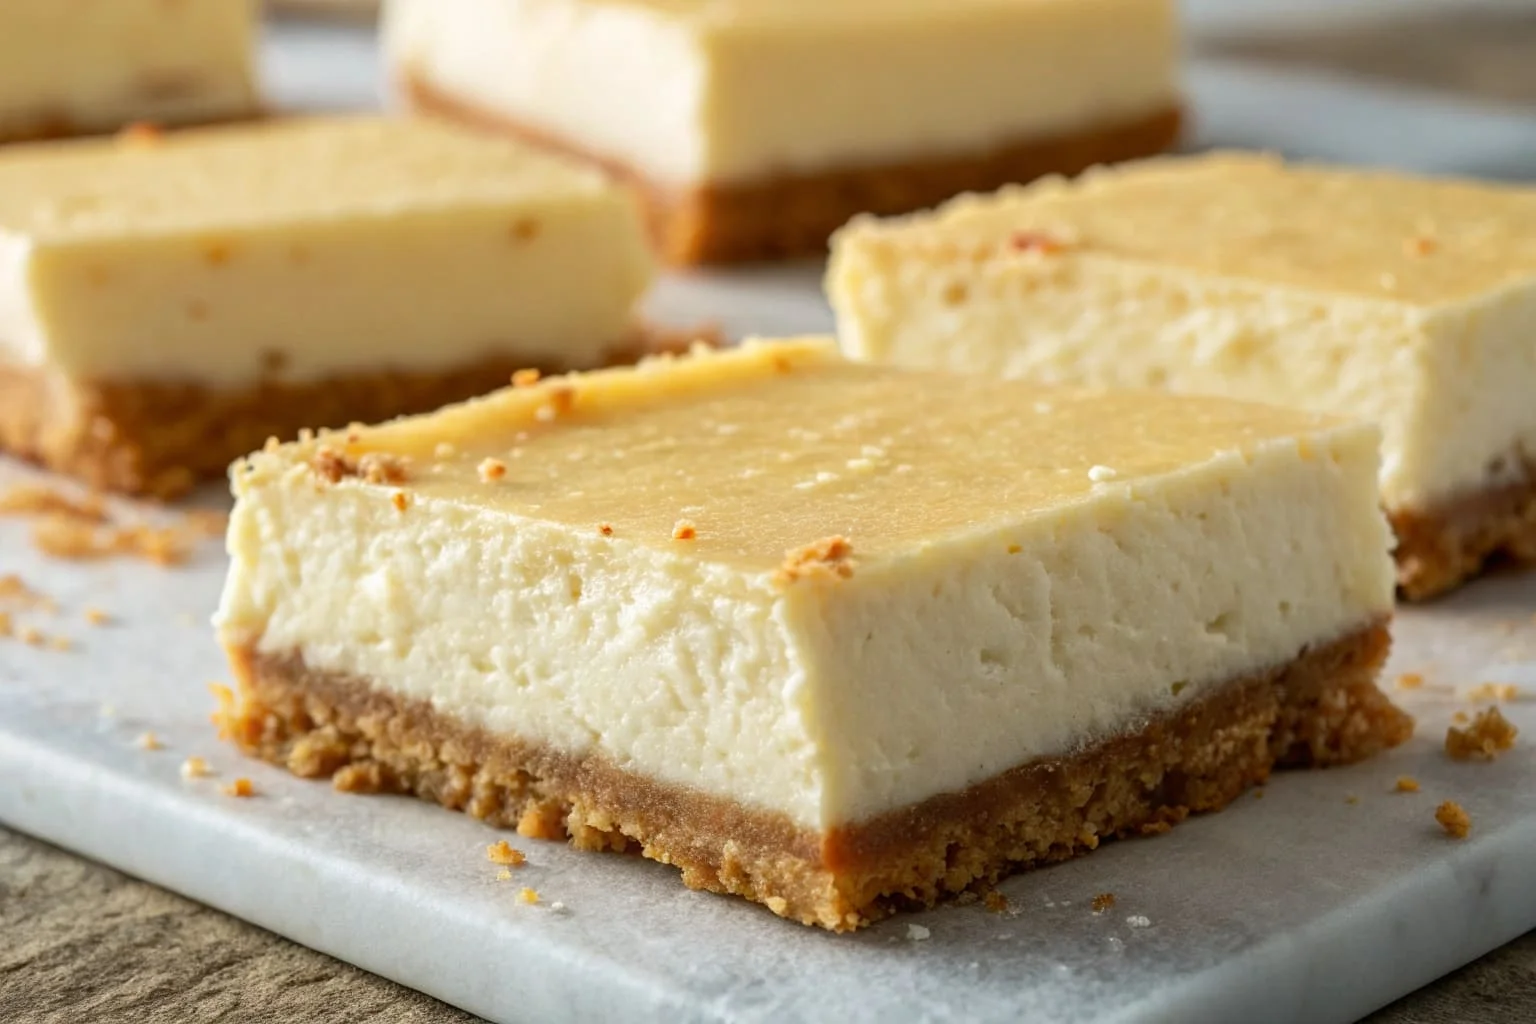
Cheesecake bars are basically mini slices of cheesecake baked in a rectangular or square pan, then cut into small squares or bars. Unlike a full-sized cheesecake that you need to slice with care, these bars are perfect for grab-and-go treats.
Here’s the cool part: You still get that creamy cheesecake flavor but with a crust that’s often thicker, crunchier, and super satisfying.
“Think of cheesecake bars as the easy-to-hold, easy-to-serve cousin of the traditional cheesecake.”
And they’re super versatile! You can add chocolate, swirl in fruit, or even make them gluten-free.
Why Cheesecake Bars Are the Perfect Dessert for Sharing
Cheesecake bars are great for:
- School lunches
- Bake sales
- Picnics
- Holidays
- Birthday parties
Since they’re already portioned, you don’t have to worry about messy slicing or serving. You just bake, chill, cut, and serve. Done!
Plus, making them in a baking dish means you can whip up a whole batch in no time. You don’t need a fancy springform pan or water bath like with traditional cheesecakes.
Nutrition Facts (Per Bar, Approximate)
| Nutrient | Amount |
|---|---|
| Calories | 230 kcal |
| Total Fat | 15g |
| Saturated Fat | 8g |
| Carbohydrates | 22g |
| Sugars | 15g |
| Protein | 3g |
| Fiber | 0.5g |
| Sodium | 130mg |
Note: Values can change based on toppings or ingredient brands.

Key Ingredients in a Cheesecake Bars Recipe
Common Ingredients You’ll Need
Before you start mixing and baking, let’s look at what goes into making these creamy bars. Most of the ingredients are probably already in your kitchen.
Here’s a quick table to keep things simple:
| Ingredient | Amount |
|---|---|
| Graham cracker crumbs | 1 and 1/2 cups |
| Melted butter | 1/2 cup |
| Granulated sugar | 1/4 cup (for crust) |
| Cream cheese | 2 blocks (8 oz each) |
| Sugar (for filling) | 1/2 cup |
| Eggs | 2 large |
| Vanilla extract | 1 teaspoon |
| All-purpose flour | 1 tablespoon |
| Sour cream (optional) | 1/4 cup |
You can swap graham crackers with crushed cookies like Oreos or digestives for a fun twist.
Including ingredients like sour cream or lemon zest adds an extra zing. Some folks even toss in chocolate chips or berry swirls. If you’re into fusion flavors, try something wild like Churro Cheesecake Bars for a cinnamon-sugar kick!
Choosing the Right Cream Cheese and Sweeteners
When it comes to cream cheese, always go for full-fat blocks instead of the whipped tubs. They give the bars that rich, creamy texture everyone loves.
For sweeteners, white sugar is classic. But if you’re trying to reduce sugar, you can use monk fruit or a low-glycemic blend. Just remember, using liquid sweeteners might change the texture a bit.
How to Make Cheesecake Bars Step by Step
Preparing the Crust: Graham Cracker vs Cookie Base
This is your foundation, so let’s nail it.
- First, mix graham cracker crumbs, sugar, and melted butter until it feels like wet sand.
- Press the mixture into a parchment-lined 9×9 baking pan. Use a flat-bottomed cup to even it out.
- Bake it at 325°F (160°C) for about 10 minutes until it smells toasty.
Tip: Want something different? Use crushed Biscoff cookies or vanilla wafers for a new twist.
Mixing and Pouring the Cheesecake Filling
While your crust is cooling, make the filling:
- Beat cream cheese until smooth.
- Add sugar and mix until creamy.
- Add eggs one at a time, mixing well after each.
- Stir in vanilla and flour.
- Optional: Fold in sour cream or swirl in fruit purée.
“Don’t overmix the batter. It can make your bars crack or turn rubbery.”
Pour the mixture onto the crust and gently tap the pan to remove bubbles.
Baking Tips: Temperature and Timing for Best Results
Bake at 325°F (160°C) for about 35-40 minutes. The edges should look set, but the center will jiggle a bit. That’s perfect!
Turn off the oven and leave the pan inside with the door slightly open for 10 minutes. This helps prevent cracking.
Cooling and Chilling: The Secret to Perfect Texture
Once out of the oven, cool the bars completely at room temperature. Then, chill in the fridge for at least 4 hours or overnight for best results.
Chilling makes the bars firmer, easier to slice, and even more delicious.
Variations of the Cheesecake Bars Recipe
Sometimes, plain cheesecake just isn’t enough. The good news is, cheesecake bars can be customized in so many tasty ways. You can mix in flavors, add toppings, or even skip the baking if you’re short on time.
Chocolate, Lemon, Strawberry, and Other Flavor Twists
Want to mix it up? Here are a few crowd-pleasing flavor ideas you can try:
- Chocolate Swirl Bars: Melt chocolate chips and swirl them into the top before baking.
- Lemon Cheesecake Bars: Add fresh lemon zest and a splash of lemon juice to the filling. It gives a zesty kick.
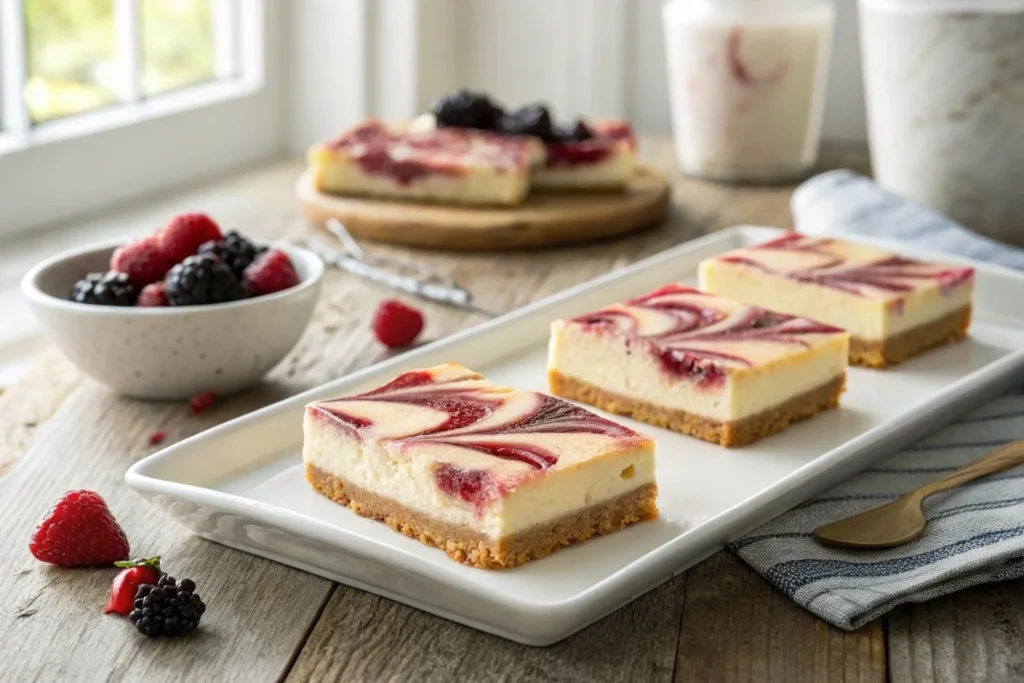
- Strawberry Swirl: Drop spoonfuls of strawberry jam on top, then swirl it around with a toothpick.
- Peanut Butter Chocolate: Mix peanut butter into half of the batter for a rich combo.
“The fun thing about cheesecake bars is you can make them YOUR way. Just be careful not to overload them with toppings or they might not bake evenly.”
Looking for something fruity and refreshing? You might love this Lemon Blueberry Cheesecake Recipe for inspiration!
Gluten-Free and No-Bake Cheesecake Bar Options
If you’re avoiding gluten, no worries. Swap out graham crackers for gluten-free cookies or almond flour crusts. For a no-bake version:
- Use the same crust ingredients but press it into the pan without baking.
- For the filling, skip the eggs and use whipped cream with softened cream cheese and sugar.
- Chill the bars for 6–8 hours until firm.
These are perfect on hot days when you don’t want to use the oven!

Serving and Storing Cheesecake Bars
Best Ways to Cut and Serve Cheesecake Bars
Once your bars are chilled and ready, it’s time to slice and serve! Here’s how to make clean, perfect cuts every time:
- Use a sharp knife dipped in hot water.
- Wipe the blade clean between each slice.
- For parties, cut into bite-sized squares for easier sharing.
Top your bars with:
- Whipped cream
- Fresh berries
- Chocolate drizzle
- Crushed nuts or candy
Presentation makes everything more fun, especially for kids!
Do Cheesecake Bars Need to Be Refrigerated?
Yes, absolutely! Since these bars are made with cream cheese and eggs, they should be kept in the fridge. This keeps them fresh and safe to eat.
- Refrigerator: Store in an airtight container for up to 5 days.
- Freezer: Freeze in a single layer, then stack with parchment paper between bars. Good for up to 2 months.
Thaw frozen bars in the fridge overnight before serving for best taste and texture.
Troubleshooting Common Issues
Even if you follow every step in a cheesecake bars recipe, sometimes things don’t turn out just right. Don’t worry, it happens to everyone, even pro bakers! Here’s how to fix common problems and make your bars even better next time.
Why Did My Cheesecake Bars Crack or Sink?
Cracks or sunken middles can be frustrating, but they don’t mean your dessert is ruined. Most of the time, it’s because the batter was mixed too much or the oven temperature was too high.
Here’s how to prevent that:
- Don’t overmix the eggs. Just stir them in until blended.
- Bake at a lower temperature like 325°F to avoid sudden rising and falling.
- Let the bars cool slowly inside the oven with the door slightly open.
“Cracks may not look perfect, but they still taste amazing. A little whipped cream on top can cover them up!”
If the bars sink only in the middle, that’s okay too. It usually means the center needed just a few more minutes in the oven.
Fixing a Soft or Overly Firm Texture
Texture is super important when making cheesecake bars. You want them creamy and smooth, not too soft or rubbery.
If your bars are too soft:
- Make sure they chilled for at least 4 hours.
- Check if the filling was fully cooked. It should jiggle slightly in the middle but not be wet.
If they turned out too firm or dry:
- You may have baked them too long or used low-fat cream cheese.
- Next time, try baking for less time and using full-fat ingredients for better results.
“Perfect texture is all about balance. With a little practice, you’ll get it just right.”
Tips for Baking with Kids or Beginners
Baking doesn’t have to be tricky or stressful. In fact, the cheesecake bars recipe is perfect for beginners and a fun way to bond with kids in the kitchen!
Easy Steps for Young Chefs
Getting kids involved in baking helps them learn while having fun. Here are some safe and simple steps they can help with:
- Crushing graham crackers in a zip bag
- Stirring the crust with melted butter
- Pouring the filling into the pan
- Swirling jam or fruit puree on top
Just keep the mixing and oven tasks to the grown-ups for safety. Always supervise, especially when the oven is on.
“Baking with kids turns dessert into a memory. Plus, they’ll be proud to eat what they helped make!”
How to Make the Process Fun and Safe
To keep things smooth in the kitchen:
- Wear aprons and play some fun music
- Set up a “kid station” with their own tools and bowls
- Give simple, clear directions one step at a time
- Clean up together afterward, make it part of the fun
Also, try letting kids pick the topping for their cheesecake bars. It could be colorful sprinkles, mini chocolate chips, or sliced strawberries.

Cheesecake Bars for Every Occasion
Party, Picnic, and Potluck Ideas
Cheesecake bars are great for:
- Birthday parties
- Backyard picnics
- Bake sales
- School events
- Potlucks and family reunions
They hold up well outside the fridge for a couple of hours, and they’re easy to stack in containers. Want a pro tip? Use cupcake liners for mess-free serving!
Try making a few different flavors in one batch to give your guests choices. A swirl of jam here, a dash of cocoa there, variety makes things fun.
Frequently Asked Questions (FAQs)
What’s the difference between cheesecake and cheesecake bars?
Good question! A traditional cheesecake is usually made in a round springform pan and served in slices. Cheesecake bars are baked in a square or rectangle pan and cut into squares. They’re easier to make, carry, and share, that’s why people love them!
Why were cheesecake bars discontinued?
If you’ve seen cheesecake bars disappear from a store or bakery, it’s often due to changing menus, supply issues, or customer demand. But the great news is you can always make your own with this cheesecake bars recipe! They’re even better when homemade.
Do cheesecake bars need to be refrigerated?
Yes, absolutely. Since they contain cream cheese and eggs, they should be stored in the fridge. This helps them stay fresh and safe to eat. You can even freeze them for later!
Can I freeze cheesecake bars for later?
You sure can! Just wrap the bars tightly or place them in an airtight container. They’ll last up to 2 months in the freezer. When you’re ready to eat, thaw them in the fridge overnight.
Print
Cheesecake Bars Recipe
- Total Time: 55 minutes
- Yield: 12 bars 1x
Description
These creamy cheesecake bars are the perfect treat for any occasion! With a buttery graham cracker crust and a rich, smooth filling, this easy cheesecake bars recipe is great for beginners, parties, or sweet lunchbox surprises. Customize with fun toppings like fruit, chocolate, or sprinkles for a dessert everyone will love.
Ingredients
Ingredients
For the Crust
- 1 1/2 cups graham cracker crumbs
- 1/4 cup granulated sugar
- 1/2 cup unsalted butter, melted
For the Cheesecake Filling
- 16 oz (2 blocks) full-fat cream cheese, softened
- 1/2 cup granulated sugar
- 2 large eggs
- 1 teaspoon vanilla extract
- 1 tablespoon all-purpose flour
- 1/4 cup sour cream (optional, for extra creaminess)
Instructions
Instructions
-
Preheat the Oven
Preheat your oven to 325°F (160°C) and line a 9×9-inch square pan with parchment paper. -
Make the Crust
In a bowl, combine graham cracker crumbs, sugar, and melted butter. Mix until it resembles wet sand. Press the mixture firmly into the bottom of the prepared pan. -
Bake the Crust
Bake the crust for 10 minutes, then let it cool while you prepare the filling. -
Prepare the Filling
In a large bowl, beat the cream cheese until smooth. Add sugar and mix well. Add eggs one at a time, beating slowly. Stir in vanilla, flour, and sour cream (if using). -
Pour and Smooth the Filling
Pour the cheesecake batter over the cooled crust and gently smooth the top with a spatula. -
Bake the Cheesecake Bars
Bake for 35–40 minutes until the edges are set and the center is slightly jiggly. Don’t overbake. -
Cool and Chill
Let the bars cool to room temperature, then chill in the fridge for at least 4 hours or overnight. -
Slice and Serve
Cut into bars using a warm, clean knife for neat edges. Serve plain or top with fresh fruit, whipped cream, or chocolate drizzle.
Notes
- Use full-fat cream cheese for best texture. Avoid spreadable or whipped versions.
- To avoid cracks, don’t overmix the batter once the eggs are added.
- Bars can be frozen individually and thawed in the fridge for a quick treat later.
- For extra flavor, swirl in raspberry jam or lemon curd before baking.
- For clean slices, dip your knife in warm water and wipe between cuts.
- Prep Time: 15
- Cook Time: 40
- Category: Breakfast
- Method: Baking
- Cuisine: American
Keywords: cheesecake bars recipe, cheesecake squares, mini cheesecake bars, easy dessert bars, homemade cheesecake

