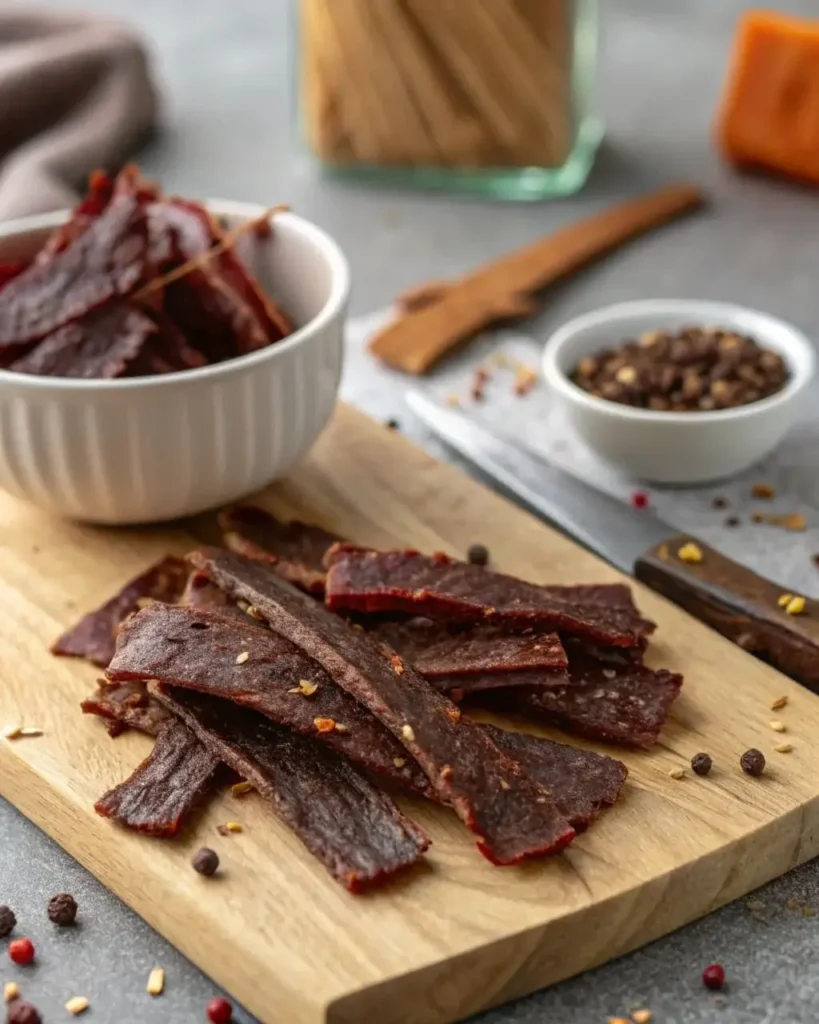
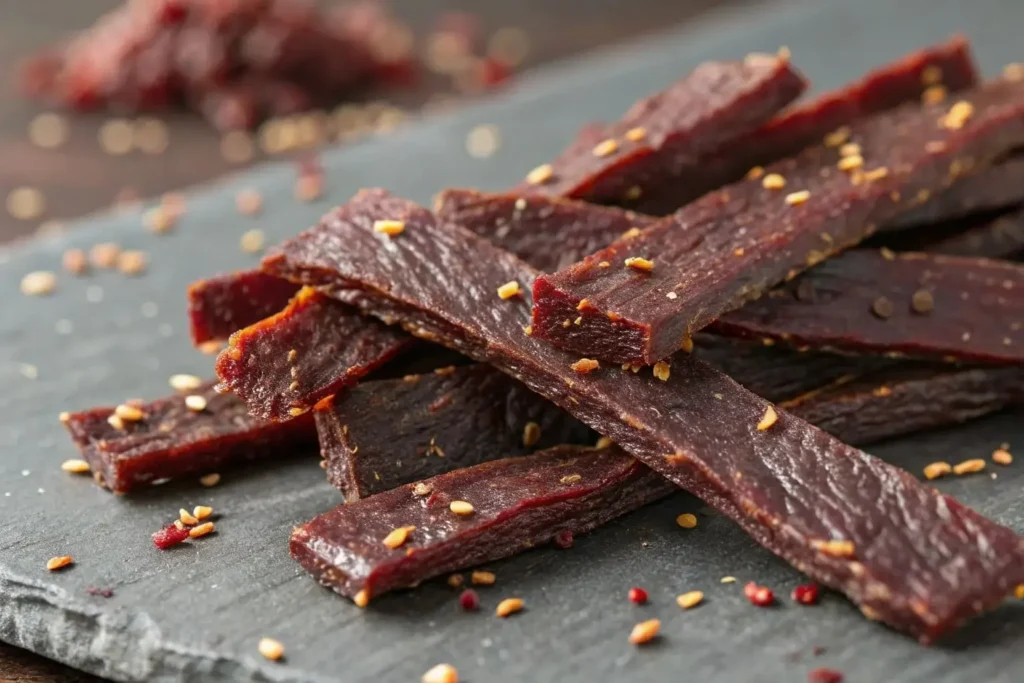
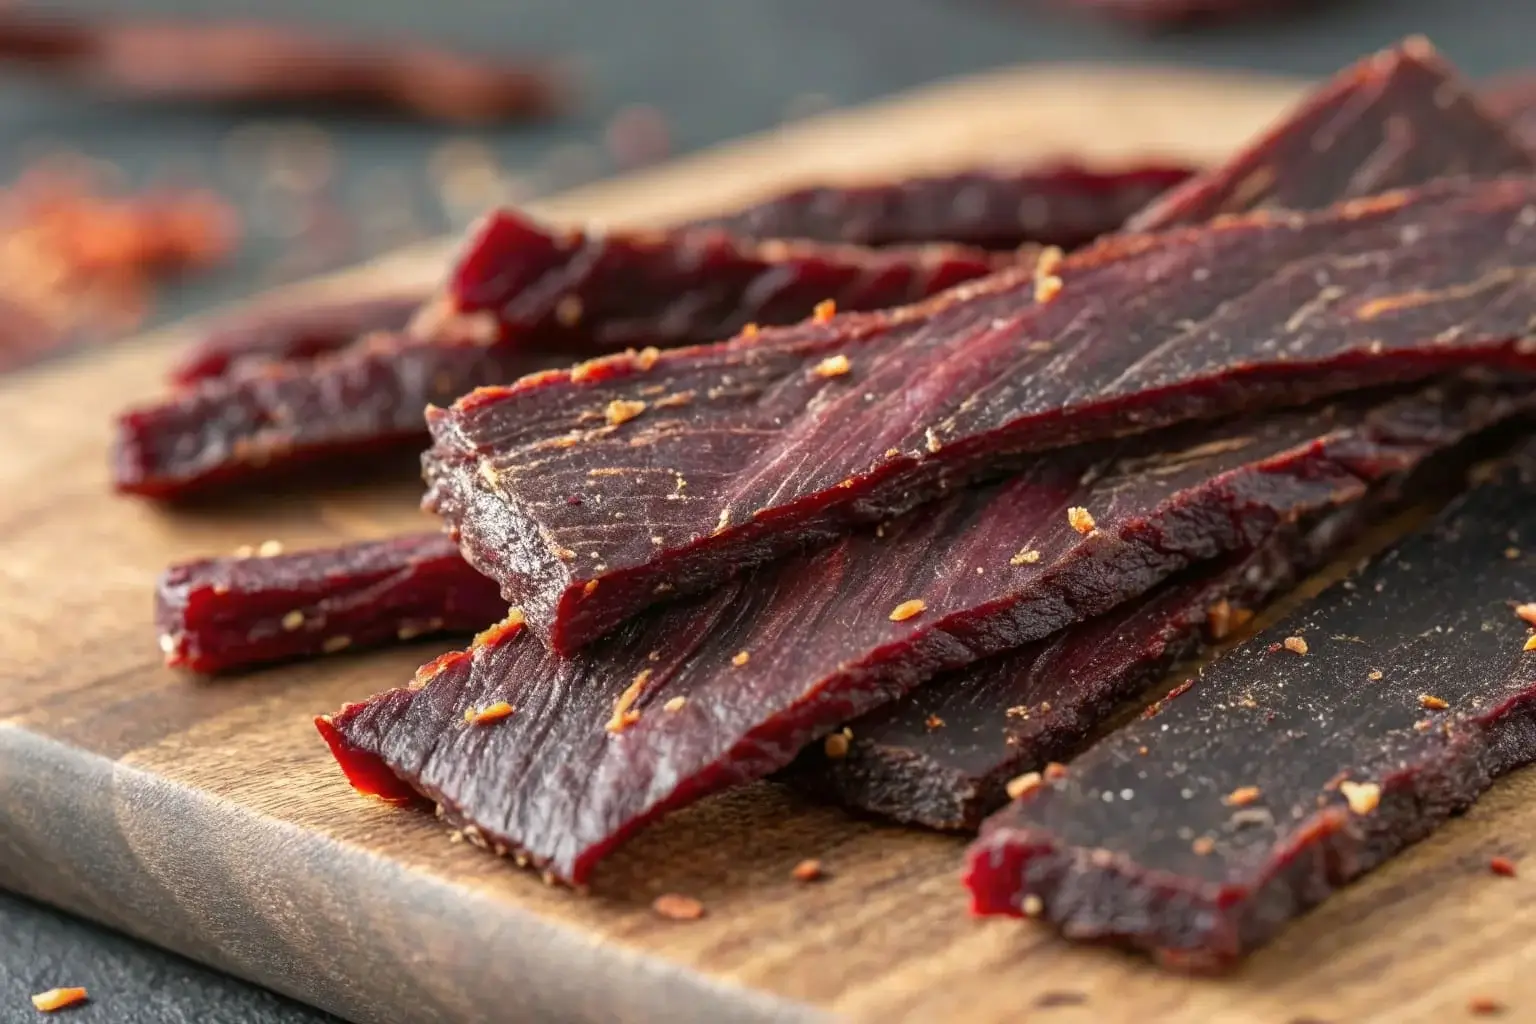
There’s something special about homemade jerky. It’s chewy, full of flavor, and perfect for snacking on the go. This guide will walk you through everything you need to know about making your own venison jerky recipe right in your kitchen.
We’ll cover how to choose the best cut of deer meat, how to slice and season it, the different ways to dry it, and how to keep it fresh. We’ve even included a nutrition facts table and expert tips from hunters and cooks who love this process.
“Making venison jerky has been part of my family’s hunting tradition for generations,” says Chef Raymond from Northern Wild Kitchen.
“It’s a way to preserve meat with love and care. Plus, kids go wild for it, especially when they help make it!”
What Is Venison Jerky?
Venison jerky is a tasty snack made from lean cuts of deer meat. The meat is sliced thin, soaked in a tasty marinade, and then slowly dried until it’s chewy and flavorful. People have been making jerky for centuries to help preserve meat and make it easier to carry.
You don’t need any fancy equipment to make jerky. A regular oven, some seasoning, and a little patience are all it takes!
“It’s like turning wild meat into candy, only better for you,” says Chef Mel from Dried & Tasty.
Why Make Your Own Deer Jerky?
Sure, you could buy jerky from the store. But making your own venison jerky recipe has some serious perks:
- Better flavor – You control the ingredients and the taste.
- Healthier – No weird stuff like added sugar, nitrates, or preservatives.
- Saves money – Store-bought jerky is expensive!
- Fun project – It’s something the whole family can enjoy doing together.
Here’s a quick look at what goes into a basic venison jerky recipe:
| Ingredients | Amount |
|---|---|
| Lean venison slices | 2 pounds |
| Soy sauce | 1/2 cup |
| Tamarind paste | 1/4 cup |
| Brown sugar | 2 tablespoons |
| Garlic powder | 1 teaspoon |
| Onion powder | 1 teaspoon |
| Black pepper | 1/2 teaspoon |
| Liquid smoke | 1/2 teaspoon (optional) |
“The key is balance,” says Chef Rae. “You want salty, sweet, and a little spice. Not too much of any one thing.”
And for those wondering about the health side of things…
Basic Nutrition Facts (Per 1 oz serving of homemade venison jerky):
| Nutrient | Amount |
|---|---|
| Calories | 80-90 kcal |
| Protein | 12-14 grams |
| Fat | 1-2 grams |
| Carbohydrates | 2-4 grams |
| Sodium | 250-400 mg |
Keep in mind, numbers change based on your marinade and drying time.

Choosing the Right Cut of Meat
Best Cuts of Deer for Jerky
If you want your venison jerky recipe to turn out chewy but not tough, you’ve got to start with the right cut of meat. Choosing the wrong one can mess up the whole batch.
The best cuts for venison jerky are:
- Top round
- Bottom round
- Eye of round
- Backstrap (also called loin)
These parts are lean, tender, and easy to slice. That’s important because fatty meat doesn’t dry well. It can also spoil faster, which means your jerky won’t last long.
“Use lean, even-textured meat like backstrap,” says Chef Laurie.
“It slices easier and gives you that classic jerky bite.”
And hey, if you’re working with a whole deer, don’t throw out those rounds. They’re perfect for jerky, and a great way to make the most of your harvest.
Why Lean Meat Matters
Fat is the enemy when it comes to jerky. While it might make a steak juicy, it can ruin your jerky by:
- Turning rancid quickly
- Making it greasy
- Causing uneven drying
Always trim off visible fat and silver skin. That helps your meat dry evenly and stay good longer.
“If I see any fat, I take it off. Jerky’s gotta be clean and lean,” says Chef Andy, a seasoned hunter from Missouri.
Also, if you’re interested in other wild game dishes, check out this venison chili recipe, it’s another flavorful way to enjoy deer meat.
Prepping Your Venison for Jerky
Trimming and Slicing the Meat
Once you’ve picked the perfect cut, it’s time to prep it. First, use a sharp knife and cut away all the fat, gristle, and anything shiny (that’s the silver skin). These parts can make the jerky chewy in a bad way.
Next comes slicing. For even drying, your pieces should be:
- About 1/4 inch thick
- The same size from end to end
Want jerky that’s easy to chew? Slice across the grain. If you like it chewy and tough, go with the grain.
“Freezing the meat just a little makes it easier to slice,” says Chef Kim.
“Not rock-hard, but firm enough to cut cleanly.”
Use a ruler the first few times. Seriously. It helps keep everything even. Uneven slices will dry at different speeds, and you don’t want that.
Should You Freeze Deer Meat Before Jerky?
You bet. Putting your venison in the freezer for about 1 to 2 hours makes it firmer and way easier to cut.
Here’s why it works:
- It gives cleaner slices.
- It prevents meat from squishing under the knife.
- It helps you make nice, even strips for better drying.
Just don’t freeze it solid, you don’t want to be sawing through an ice block.
“Partially frozen meat is a game changer,” says Chef Hal. “I tell all my jerky students to chill it first.”

Marinade and Seasoning Ideas
Classic Marinade for a Simple Venison Jerky Recipe
Now that your deer meat is trimmed and sliced, it’s time for the fun part, flavor! A good marinade soaks into the meat, bringing all those tasty flavors deep inside. It also helps keep your jerky tender and adds just the right amount of salt to keep it safe.
Here’s a basic venison jerky recipe marinade to get you started:
Classic Marinade Recipe (for 2 pounds of venison)
- 1/2 cup soy sauce
- 1/4 cup tamarind paste
- 2 tablespoons brown sugar
- 1 teaspoon garlic powder
- 1 teaspoon onion powder
- 1/2 teaspoon black pepper
- 1/2 teaspoon liquid smoke (optional for smoky flavor)
Mix all the ingredients in a bowl. Then, place the meat strips in a large zip-top bag or bowl, pour the marinade over them, and seal it tight. Let it sit in the fridge for at least 8 hours, or even better, overnight.
“Marinate overnight and you’ll get a deeper, bolder flavor,” says Chef Ramon. “The meat drinks it all in.”
Creative Seasoning Variations for Venison Jerky
Once you’ve mastered the basic recipe, don’t be afraid to try something new. There are tons of ways to switch things up depending on your taste.
Here are a few tasty twists:
- Sweet & Spicy: Add 1 tablespoon honey and 1/2 teaspoon crushed red pepper flakes
- Smoky BBQ: Swap soy sauce for barbecue sauce and add smoked paprika
- Asian Style: Use teriyaki sauce, ginger powder, and sesame oil
- Pepper Blast: Coat the strips with cracked black pepper before drying
Want a sweet and savory balance? Add a little pineapple juice to your mix. Like it hot? Try cayenne pepper or chili powder.
“I love adding a splash of apple cider vinegar,” says Chef Dawn. “It brightens up the flavors and adds a nice tang.”
Just remember, always taste your marinade before using it!
How to Make Venison Jerky
Oven Method: Simple Way to Make Jerky at Home
If you’ve got an oven, you can make jerky. It’s that easy. You don’t need fancy gear to make a perfect venison jerky recipe at home.
Here’s how to do it:
- Take the meat out of the marinade and pat it dry with paper towels.
- Line a baking sheet with foil to catch drips.
- Lay the strips across the oven rack or on a wire rack over the baking sheet.
- Set your oven to 170°F (or the lowest setting).
- Leave the oven door open a crack to let moisture escape.
- Dry for 4 to 6 hours, flipping the meat halfway through.
How do you know it’s done? It should bend without breaking and feel dry but not brittle.
“It’s like drying socks on a line,” laughs Chef Carlos. “Give it time and space to breathe.”
Using a Dehydrator for Perfect Jerky
If you’ve got a food dehydrator, even better! This tool is made for jerky and does the job really well.
Just follow these steps:
- Set the dehydrator to 160°F.
- Arrange the meat strips in a single layer with space in between.
- Dry for 4 to 8 hours, depending on thickness.
- Check often, you want it dry but not crunchy.
The cool part? A dehydrator keeps the temperature steady and doesn’t heat up your whole kitchen.
“It’s set it and forget it,” says Chef Lila. “Way easier than babysitting the oven.”
Ground vs Whole Muscle Venison Jerky
Whole Muscle Jerky: Traditional and Chewy
When most people think of jerky, they picture long, chewy strips of sliced meat. That’s what we call whole muscle jerky. It’s the most common style, and it works perfectly with any classic venison jerky recipe.
To make this kind, you slice lean deer meat into thin strips, soak them in a marinade, then dry them in the oven or dehydrator. Pretty easy, right?
Here’s what makes it great:
- It looks like store-bought jerky
- You get a natural meat texture
- It lasts longer if stored right
“I always go with whole cuts,” says Chef Brian. “You get that real jerky feel and a good bite every time.”
It’s also easier to handle for beginners. As long as your knife is sharp and the meat is chilled, you’re good to go!
Ground Jerky: Easier to Chew, Fun to Shape
Now, let’s talk about ground venison jerky. This version is made by grinding the meat, mixing it with seasoning, and shaping it with a jerky gun or piping bag. The texture is softer, and the flavor blends evenly through the meat.
Why some people love ground jerky:
- Easier to chew (great for kids!)
- Faster to dry
- You can make fun shapes
All you need is a meat grinder or ground venison, some seasoning, and a jerky gun. You’ll still use the same venison jerky recipe, just in a different form.
“My kids won’t eat tough jerky,” laughs Chef Dana. “So we do ground style, and they love helping pipe it onto trays!”
Whichever method you choose, both styles taste great and store well. Try both and see which one you like more!
Storing and Keeping Jerky Fresh
How Long Does Homemade Jerky Last?
After all that work making your tasty venison jerky, you want it to last, right? Good news, when stored right, it stays fresh for a long time. Here’s a quick guide:
| Storage Method | How Long It Lasts |
|---|---|
| Room temperature (airtight) | Up to 1 week |
| In the fridge | 1 to 2 months |
| In the freezer | 6 months or more |
Always cool your jerky first. Then store it in zip-top bags, vacuum-sealed bags, or airtight jars. For extra safety, add a food-safe oxygen absorber.
“I vacuum seal mine in small snack-size packs,” shares Chef Eli. “That way it’s ready for hiking trips or lunchboxes.”
If your jerky smells off, feels sticky, or has mold, toss it out. Fresh jerky should feel dry and have a rich, meaty smell.
Signs That Your Jerky Has Gone Bad
Even the best venison jerky recipe can spoil if not stored right. So what should you watch for?
Here are a few red flags:
- Weird smell – sour or off
- Sticky or greasy feel – too much fat may have gone bad
- White spots or fuzz – could be mold
When in doubt, don’t eat it. Jerky is meant to be dry and chewy, not wet, squishy, or soft.
“If it smells like anything other than jerky, I throw it out,” says Chef Mandy. “Better safe than sorry.”

Venison Jerky for Different Diets
Low-Carb or Keto-Friendly Jerky Options
If you’re eating low-carb or following a keto plan, guess what? Jerky is your best friend! Especially when you make it yourself using a healthy venison jerky recipe. You control what goes in, and what stays out.
To keep your jerky keto-friendly:
- Skip the sugar or use a low-carb sweetener like monk fruit or stevia
- Watch out for store-bought sauces (they can hide carbs)
- Use simple spices like garlic, pepper, and smoked paprika
Venison is super lean, so it’s great for these diets. Plus, jerky is easy to take on-the-go, whether you’re hiking, working, or just craving a salty snack.
“I make a batch every weekend,” says Coach Rick. “It keeps me on track and keeps me full.”
And don’t worry, skipping sugar doesn’t mean skipping flavor. You can still make bold, spicy, smoky jerky that’s totally delicious.
Gluten-Free Venison Jerky Tips
Gluten-free eaters, rejoice! A homemade venison jerky recipe is an easy way to enjoy a protein-rich snack without gluten.
But there’s a catch, not all sauces and spices are safe. So here’s what to do:
- Always check labels on soy sauce, tamarind paste, and spice blends
- Use tamari or coconut aminos instead of regular soy sauce
- Make your own seasoning mix with gluten-free spices
“My son has celiac, so we make gluten-free jerky together,” shares Chef Linda. “It’s safe, fun, and he loves it!”
When in doubt, go homemade. That way, you always know what’s in your snack.
Tips, Troubleshooting, and Common Mistakes
Avoiding Overdry Jerky
Nobody likes jerky that’s dry as wood. Sadly, it happens a lot. If your jerky turns out too hard, don’t worry, you can fix it next time!
Here’s how to avoid drying it out:
- Keep slices the same size
- Check jerky early (after 3 or 4 hours)
- Don’t crank the heat too high
- Store it right after cooling to lock in moisture
“I check mine every hour after the 3-hour mark,” says Chef Nolan. “Once it bends and doesn’t snap, it’s ready.”
Drying time also depends on your oven, dehydrator, and even the weather!
Fixing Jerky That’s Too Salty or Bland
Flavor matters. If your jerky is too salty or just plain dull, here’s what might’ve gone wrong:
- The meat soaked in marinade too long (12+ hours)
- You used high-sodium soy sauce
- There wasn’t enough sugar, vinegar, or spices to balance the salt
Here’s how to fix it next time:
- Use low-sodium soy sauce
- Try sweeter or tangier ingredients like honey or vinegar
- Taste your marinade before adding the meat
“Start with less salt and add more later,” recommends Chef Tasha. “You can always sprinkle more, but you can’t take it out!”
Safety Tips When Making Jerky
Safety is super important, especially with meat. Follow these rules every time you make a venison jerky recipe:
- Wash your hands and tools before touching meat
- Use lean meat and trim off all fat
- Dry at 160°F or hotter to kill germs
- Store jerky in cool, airtight containers
If you want to be extra careful, heat the meat in the oven for 10 minutes after drying.
“It’s better to overdo the safety part,” says Chef Greg. “Jerky is food, not a science project!”

Venison Jerky Recipe
- Total Time: 6 hours 20 minutes
- Yield: About 20 servings (1 oz per serving) 1x
Description
This homemade venison jerky recipe delivers chewy, flavorful strips made from lean deer meat and bold spices. It’s the perfect protein-packed snack for hunting trips, hiking adventures, or quick energy on the go. With simple ingredients and step-by-step instructions, you can make your own jerky using an oven or dehydrator, no preservatives or weird stuff required.
Ingredients
Ingredients
For the Marinade
1/2 cup soy sauce (low-sodium recommended)
1/4 cup tamarind paste
2 tablespoons brown sugar
1 teaspoon garlic powder
1 teaspoon onion powder
1/2 teaspoon black pepper
1/2 teaspoon liquid smoke (optional)
For the Jerky
- 2 pounds lean venison (top round, bottom round, or backstrap)
- Paper towels (for blotting moisture)
- Airtight containers or vacuum-seal bags (for storage)
Instructions
Instructions
-
Trim the Meat
Use a sharp knife to remove all fat and silver skin from the venison. Fat can spoil faster and affect jerky quality. -
Slice the Meat
Freeze the meat for about 1 hour to firm it up. Then slice it evenly into thin strips, about 1/4 inch thick. -
Make the Marinade
In a large bowl, whisk together soy sauce, tamarind paste, brown sugar, garlic powder, onion powder, black pepper, and liquid smoke. -
Marinate the Meat
Add meat strips to the bowl. Mix well to coat. Cover and refrigerate for at least 8 hours or overnight for deeper flavor. -
Prepare for Drying
Remove meat from marinade and pat dry with paper towels. Place on dehydrator trays or wire racks set over baking sheets if using the oven. -
Dry the Jerky
-
Dehydrator: Set to 160°F and dry for 4–8 hours, checking occasionally.
-
Oven: Set to 170°F with the door slightly open. Dry for 4–6 hours, flipping halfway through.
-
-
Test and Cool
Jerky is done when it bends without breaking and feels dry but still slightly flexible. Let cool before storing. -
Store the Jerky
Store in airtight containers, zip-lock bags, or vacuum-sealed pouches. Refrigerate for up to 2 months or freeze for longer storage.
Notes
- Use low-sodium soy sauce to avoid overly salty jerky.
- Cutting across the grain gives you a softer bite, while slicing with the grain makes it chewier.
- To boost safety, heat strips in a 275°F oven for 10 minutes after drying to kill any bacteria.
- You can make this recipe with ground venison using a jerky gun if you prefer a softer texture.
- Always store jerky in a cool, dry place to prevent spoilage.
- Add a small oxygen absorber to extend shelf life in sealed bags.
- Prep Time: 20
- Cook Time: 360
- Category: Lunch
- Method: Dehydrating / Oven-Dried
- Cuisine: American
Keywords: venison jerky, deer jerky, ground venison jerky, homemade jerky, wild game jerky, low carb snack, keto jerky, protein snack, how to make deer jerky


1 thought on “Venison Jerky Recipe”